You’ve taken Kubernetes for a spin using the command line utility, but eventually you’re going to need set up more customized pods & deployments. In this tutorial, you’ll learn how to set up YAML files to create custom Kubernetes objects.
Goals:
- Create a deployable image for a Rails application
- Generate a ConfigMap to define environment variables in our pods
- Configure deployment for our Rails application
Our goal for today is to get a Rails application running with Kubernetes. To get the application up and running we need to figure out how to use environment variables with Kubernetes, how to package the application to run with Kubernetes, and lastly how to define our configuration.
Using the Minikube Docker Server
While we’re working locally using minikube we’re going to need to be building our applications into images that we can run in pods. We’ll do this using the docker build command, but by default, our docker client won’t be talking to the minikube Docker.
We’ll get around this by using a line similar to how we set which docker-machine to use:
$ eval $(minikube docker-env)This will set our Docker client to use the proper server.
Building our Rails Image
We’ll be using the meal planning application that can be found here. Download this application to follow along.
From within the application’s directory, let’s build the image and give it a meaningful name:
$ docker build -t meal_plan:1 .We’re giving this a version number of 1 since it’s our first time packaging it up. Having a version number like this allows us to ensure that we’re deploying the proper version.
Remember: latest is not a version number.
Starting the Database on a Separate Docker Host
We’re not going to be running the database within Kubernetes just yet, but we still need one to be running so our application can connect to it. We’re going to run the database from the VM that Kubernetes is running in so we can easily connect our application to it. You would never actually do this, but we don’t have time in this tutorial to coverage running Postgres in Kubernetes.
Before we start it, we’ll need to expose the database port to the Docker host so that our Kubernetes cluster can access it:
docker-compose.prod.yml
# Only showing the `prod_db` portion of the file
  prod_db:
    image: postgres
    env_file: .env.prod
    ports:
      - "5432:5432"
    volumes:
      - db-data:/var/lib/postgresql/db-data
Now with that changed we can start the database using:
$ script/prod up -d prod_dbTo make it easier on ourselves we should also make sure that the database exists before continuing.
$ script/prod run --rm prod_app rake db:create db:migrateCreating a Rails Deployment
Now that we have an image we could create a deployment using the kubectl run command, but that can’t be peer reviewed and might be hard to replicate so we’re going to create this deployment as a YAML file.
deployments/mealplan.yml
apiVersion: extensions/v1beta1
kind: Deployment
metadata:
  name: mealplan
spec:
  replicas: 1
  template:
    metadata:
      labels:
        app: mealplan
        tier: backend
        track: stable
    spec:
      containers:
        - name: mealplan
          image: "meal_plan:1"
          ports:
            - name: rails
              containerPort: 3000
Besides the image declaration, you’ll notice that we use mealplan without and underscore, this is because the underscore is not allowed. This will create an application container for us, but it’s not going to work without the additional configuration values that we had been storing in the .env file.
Going through this file. We define the type of Kubernetes object using the kind key, set the name as a metadata subkey, and then we set the spec for the deployment. The spec is a lot like what we would define as part of a docker-compose.yml file. The notable differences here are the replicas setting, the template key, and the fact that we’re able to name the port. The labels allow us to specify ways to classify our objects.
For us to utilize the environment variables that we have been using we’re going to set up a ConfigMap, which is another object in Kubernetes that you can use to hold configuration data.
Creating the Meal Plan ConfigMap
ConfigMaps exist within Kubernetes and allow us to set specific keys (literals) or entire files. Unfortunately, our application isn’t set up to read an entire file in as environment variables (you could use dotenv for that). We’re going to need to set up the values from our .env.prod as literal values within a ConfigMap.
$ kubectl create configmap mealplan-config \
--from-literal=postgres_user=meal_planner \
--from-literal=postgres_password=dF1nu8xT6jBz01iXAfYDCmGdQO1IOc4EOgqVB703 \
--from-literal=postgres_host=$(minikub ip) \
--from-literal=rails_env=production \
--from-literal=rails_log_to_stdout=true \
--from-literal=secret_key_base=7a475ef05d7f1100ae91c5e7ad6ab4706ce5d303e6bbb8da153d2accb7cb53fa5faeff3161b29232b3c08d6417bd05686094d04e22950a4767bc9236991570ad
We can make sure that we set everything properly by looking at the data section of the ConfigMap resource:
$ kubectl get configmap mealplan-config -o yaml
apiVersion: v1
data:
  postgres_host: 192.168.99.101
  postgres_password: dF1nu8xT6jBz01iXAfYDCmGdQO1IOc4EOgqVB703
  postgres_user: meal_planner
  rails_env: production
  rails_log_to_stdout: "true"
  secret_key_base: 7a475ef05d7f1100ae91c5e7ad6ab4706ce5d303e6bbb8da153d2accb7cb53fa5faeff3161b29232b3c08d6417bd05686094d04e22950a4767bc9236991570ad
kind: ConfigMap
metadata:
  creationTimestamp: 2017-03-19T21:08:25Z
  name: mealplan-config
  namespace: default
  resourceVersion: "12711"
  selfLink: /api/v1/namespaces/default/configmaps/mealplan-config
  uid: 86160c7a-0e7a-11e7-99a4-080027b11ce5
Adding Configuration to the Meal Plan Deployment
With the config map created we can now use these in our deployment file.
deployments/mealplan.yml
apiVersion: extensions/v1beta1
kind: Deployment
metadata:
  name: mealplan
spec:
  replicas: 1
  template:
    metadata:
      labels:
        app: mealplan
        tier: backend
        track: stable
    spec:
      containers:
        - name: mealplan
          image: "meal_plan:1"
          ports:
            - name: rails
              containerPort: 3000
          env:
            - name: POSTGRES_USER
              valueFrom:
                configMapKeyRef:
                  name: mealplan-config
                  key: postgres_user
            - name: POSTGRES_PASSWORD
              valueFrom:
                configMapKeyRef:
                  name: mealplan-config
                  key: postgres_password
            - name: POSTGRES_HOST
              valueFrom:
                configMapKeyRef:
                  name: mealplan-config
                  key: postgres_host
            - name: RAILS_ENV
              valueFrom:
                configMapKeyRef:
                  name: mealplan-config
                  key: rails_env
            - name: RAILS_LOG_TO_STDOUT
              valueFrom:
                configMapKeyRef:
                  name: mealplan-config
                  key: rails_log_to_stdout
            - name: SECRET_KEY_BASE
              valueFrom:
                configMapKeyRef:
                  name: mealplan-config
                  key: secret_key_base
For each environment variable we need to set the name as it would be exposed in the environment, all uppercase, and then we tell the deployment where it should pull this value. In this case, we want to use values from a ConfigMap so we’re using the configMapKeyRef option, providing the name of the ConfigMap that we created, and then specifying the key from the ConfigMap.
The configuration story here is a little tedious, but it does require us to be explicit. Now we can create our deployment using the kubectl create command and our deployment file:
$ kubectl create -f deployments/mealplan.ymlExposing our Rails Application with a Server
To ensure that our application is running we should expose it using a Kubernetes service. Services can also be configured using configuration files so we’ll create that now.
$ mkdir servicesservices/mealplan.yml
kind: Service
apiVersion: v1
metadata:
  name: mealplan
spec:
  selector:
    app: mealplan
    tier: backend
  ports:
    - protocol: TCP
      port: 80
      targetPort: rails
  type: LoadBalancer
Setting up the Service works a lot like setting up the deployment earlier. One thing to notice is that we’re setting the targetPort using the port name that we created in our deployment. The selector section is important because that tells the Service how to find the pods to direct traffic to.
Let’s create the service using the same kubectl create command as before with our new file:
$ kubectl create -f services/mealplan.ymlGet the URL for this service from minikube:
$ minikube service mealplan --url
http://192.168.99.100:32261
If all went well, visiting that URL in your web browser should show you the unstyled home page of our meal planning application.
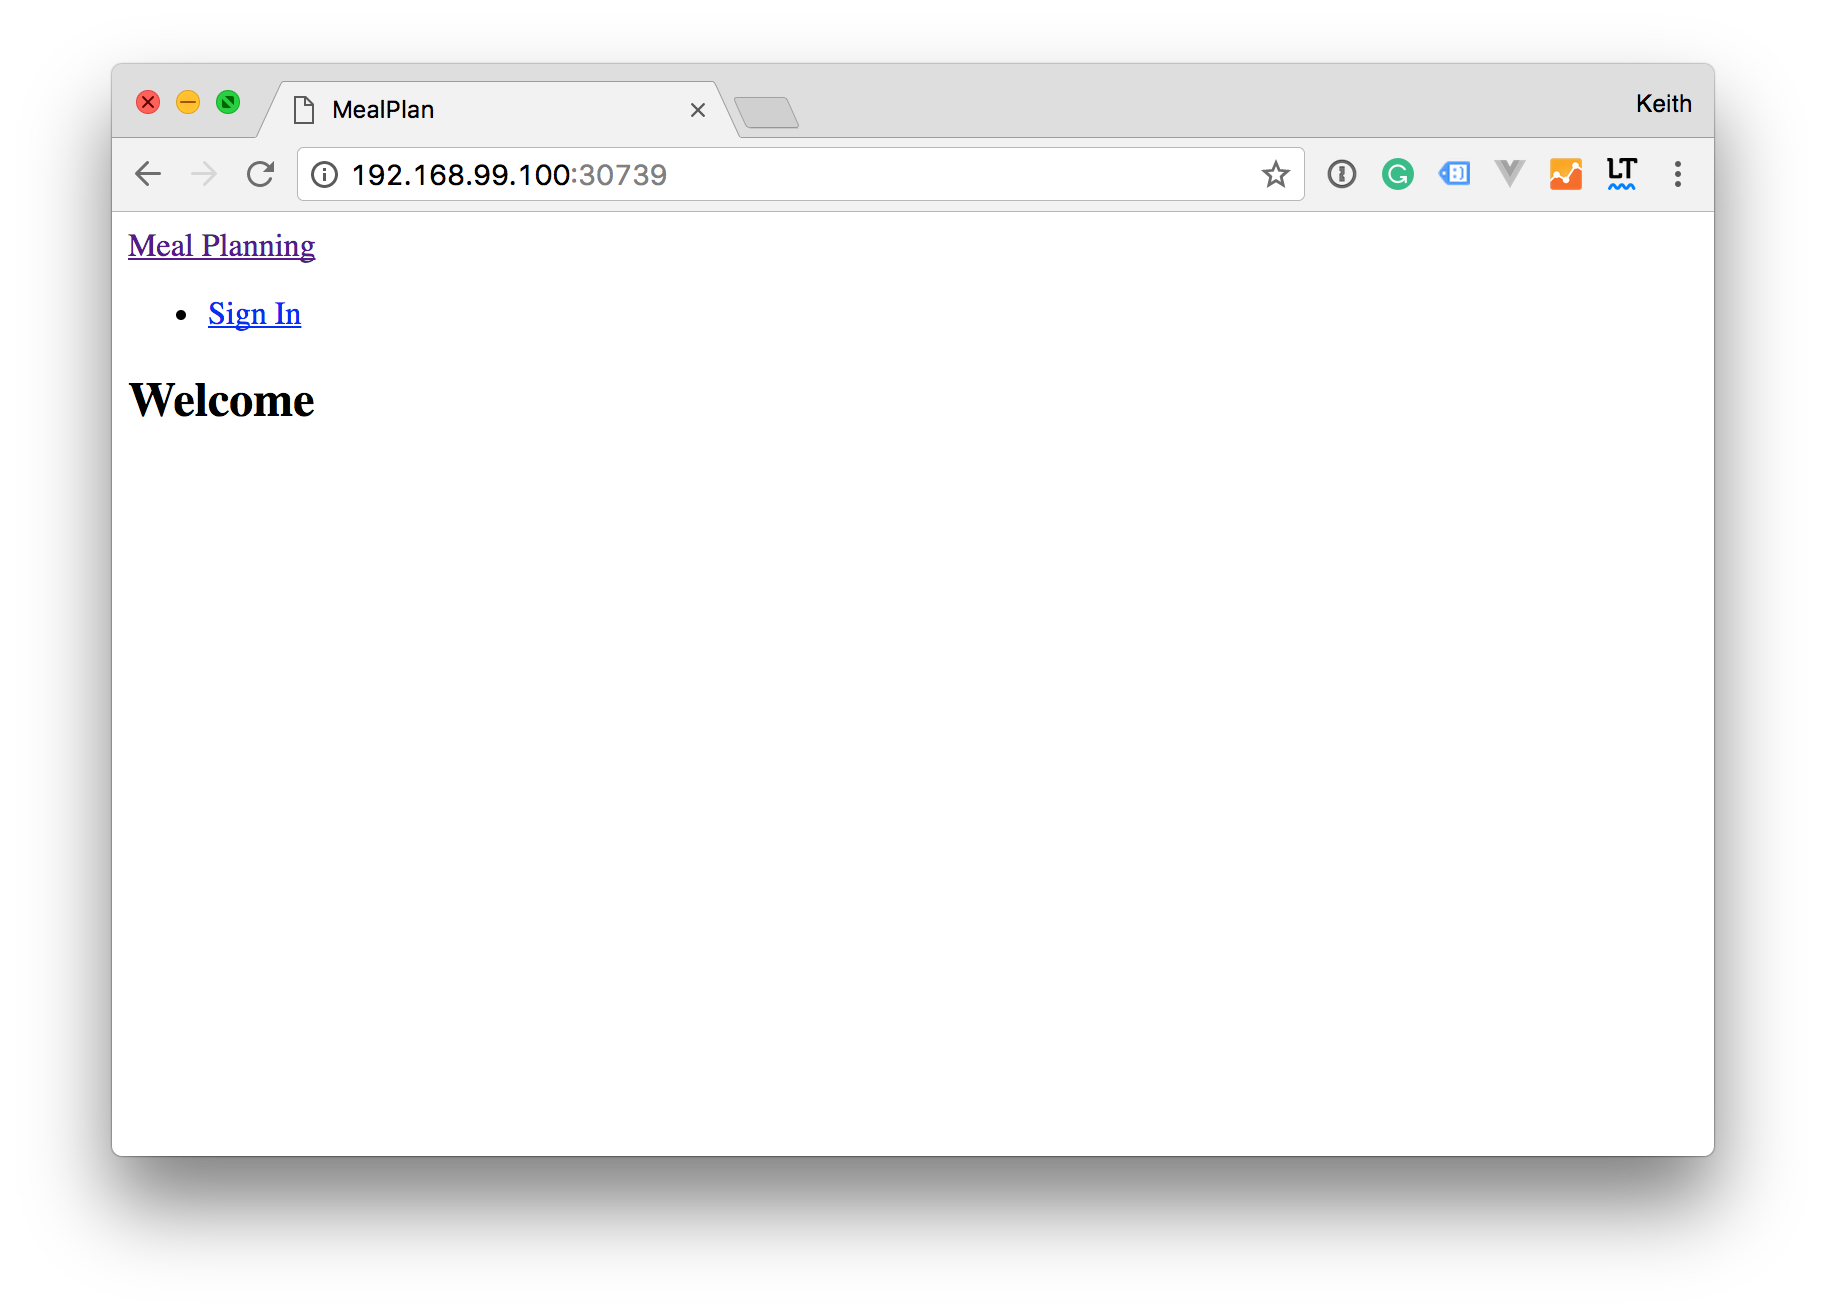
Recap
In this tutorial, you created Kubernetes objects to run a Ruby on Rails application in a repeatable way. This didn’t cover even close to everything that we’ll be able to do with Kubernetes, but it is a pretty good start. If you would like to improve this, you should move some of the configuration values into Kubernetes Secrets. In the next tutorial, we’ll cover running stateful applications (like databases) in Kubernetes.
The code from this tutorial can be found here.