Today we continue our series learning Ruby on Rails. Having set up the project in the first episode, we can now start developing our first feature: User sign up, log in, and log out.
Goal for this Tutorial:
** Set up Authentication in a Rails App. ** Weigh Gem Pros/Cons to pick dependencies. ** Create simple Controller, View, and Route for the home page.
User sign up and authentication is pretty much a solved problem. So many applications have user sign in. Because of this, we’re not going to build this feature from scratch. We’re going to pull in a library to handle this part of the application for us.
Before we can get started we’re going to need to pick a library, and we’ll be picking one from these three:
The features that we really want are: user authentication over email/password, and password reset.
Deciding on a Gem
All three of the gems we reviewed are great. Devise is without a doubt the most popular gem for authentication and is well battle tested. Sorcery is the least intrusive solution, providing us with methods that we manually set up and not having an opinion on routes/views. Clearance is simple and maintained by a very reputable company in the Ruby/Rails community.
Clearance is what we’re going to go with for this project. It meets our requirements, and doesn’t try to do much more.
Installing the Gem
Clearance has good documentation, and we need to follow the installation portion right now. The firs thing that we need to do is add the gem to our Gemfile:
# ... Other gems
gem 'clearance', '~> 1.15.1'
# ... Other gems
Take note of the ~> sign in the version number. That does “pessimistic” version pinning, which means that it will allow installation of iterations in the right most version position. In our case this means we could install 1.15.1 now, but if 1.15.2 came out tomorrow we could bundle update to that without changing our Gemfile. We would not be able to update to 1.16.0 without changing this line though. We would write the current line as ~> 1.15 if we wanted to be able to install any minor version above 15.
Since we’ve added a new gem we need to bundle install that. We’re going to stop our containers, rebuild, and start them back up. Building does the bundle install step that we need, but it also bakes the gems into the image.
$ docker-compose build && docker-compose run --rm app bashOnce the application container is rebuilt we’re going to do a few more things before restarting it.
Setting Up Clearance
Clearance comes packaged with some commands to help us get up and running quickly. The first one we’re going to use is clearance:install
$ rails generate clearance:installThat command will create or change the following:
- Create the
Usermodel or change it if you already had one - Generate a migration to set up the fields on
Userthat clearance needs - Change the
ApplicationControllerto include the clearance methods (through a module) - Create an initializer to allow us to configure clearance
The output from the installation also gives us a few more changes we can make and tells us to migrate our database. We’ll do those things also, doing the migration first.
$ rake db:migrateHere is the change we’ll make to our app/views/layouts/application.html.erb:
<!DOCTYPE html>
<html>
  <head>
    <title>MealPlan</title>
    <%= csrf_meta_tags %>

    <%= stylesheet_link_tag    'application', media: 'all' %>
    <%= javascript_include_tag 'application' %>
  </head>

  <body>

    <header>
      <% if signed_in? %>
        Signed in as: <%= current_user.email %>
        <%= button_to 'Sign out', sign_out_path, method: :delete %>
      <% else %>
        <%= link_to 'Sign in', sign_in_path %>
      <% end %>
    </header>

    <section>

      <div id="flash">
        <% flash.each do |key, value| %>
          <div class="flash <%= key %>"><%= value %></div>
        <% end %>
      </div>

      <%= yield %>
    </section>
  </body>
</html>
Now that we have the clearance initializer we can start the application.
docker-compose up -dSigning Up (and Creating a Home Page)
Clearance by default provides us with routes and views through a rails engine. This means that we don’t need to set up much of any code in our application to get up and running. It’s suggested that you not use this feature so that you have more control, so we will actually create routes/views, but for the time being we’re going to take this for a spin.
You can head to localhost:3000/sign_up to actually create a User for yourself. The form isn’t pretty, but that’s ok since it’s our responsibility to style our site.
After you sign up you’ll be redirect back to the “Yay! You’re on Rails” page, which doesn’t actually show us the change we made to our application layout. To get around this we’re going to create our home page.
First we need to create our controller, we’ll call it the WelcomeController and put it at app/controllers/welcome_controller.rb. In Rails the naming of classes and files is very important so make sure that these match up.
class WelcomeController < ApplicationController
  def show
  end
end
That’s all we need in the controller because there won’t be any dynamic data passed to the view we’re going to display (our show view). Next, we’ll create the directory in views, and the view itself.
$ mkdir -p app/views/welcome
$ echo "<h1>Welcome</h1>" > app/views/welcome/show.html.erb
Lastly, we need to set up our root route in config/routes.rb.
Rails.application.routes.draw do
# For details on the DSL available within this file, see http://guides.rubyonrails.org/routing.html
root to: "welcome#show"
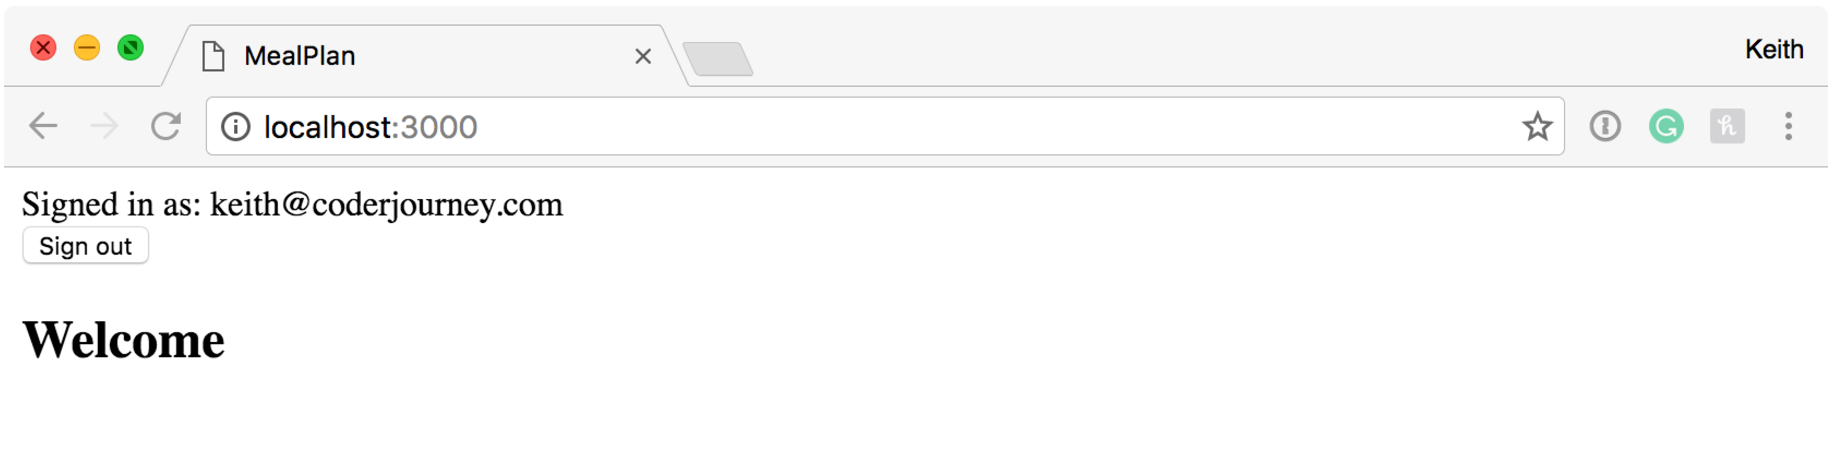
endNow if we look at localhost:3000 again we can see that we’re logged in:
Recap
Later on, we will customize the views and routes that clearance has given us, but for the time being we’ve successfully implemented the following features:
- User Sign Up
- User Sign In/Out
Moving forward we will implement features that are specific to our domain so we won’t be able to use a gem to do all of the work.