Deploying Application Updates to Kubernetes
Now that the meal planning application has been deployed to the Google Cloud we will need to be able to deploy our new changes to it. In this tutorial, we will go through just what it takes to roll out updates to the applications in our Kubernetes cluster.
Goals:
- Deploy application updates for our Rails application in Google Cloud.
- Determine how to go about deploying database migrations.
Now that we have an application running in our Kubernetes cluster we will want to keep on deploying our development efforts to it. Even though we’re currently working with a Ruby on Rails application there aren’t really any unique concerns that we have to deal with. The flow for deploying most web applications will be the same:
- Create updated image (new tag) with the most up to date code.
- Upload image to a repository.
- Update Deployment to use the new image tag.
- Apply changes to our Kubernetes cluster.
Enhancing the Rails Application
We need to make some changes before we can actually deploy anything useful. For our case, we’re going to be adding a new model to our application. This particular change will be good for us because it will require us to make a change to the database schema. To get started, we will use the Rails model generator to create most of the files that we need (making some tweaks as we go). To run the generator make sure you either have rails 5 installed locally or execute it from within the app Docker container. First, let’s modify the generator configuration so it doesn’t create more than we want:
config/application.rb
# require statements left out of example
module MealPlanner
  class Application < Rails::Application
    # Settings in config/environments/* take precedence over those specified here.
    # Application configuration should go into files in config/initializers
    # -- all .rb files in that directory are automatically loaded.

    config.generators do |g|
      g.test_framework :minitest, spec: true
      g.helper false
      g.javascript false
      g.stylesheet false
    end
  end
end
Now we can start the Docker containers and create the model:
$ docker-compose up -d
$ docker-compose run --rm app rails g model Ingredient name:string
Before we run our migration we’re going to tweak this a little so that we can ensure a few ingredients exist.
db/migrate/20170424103552_create_ingredients.rb
class CreateIngredients < ActiveRecord::Migration[5.0]
  def up
    create_table :ingredients do |t|
      t.string :name

      t.timestamps
    end

    Ingredient.create(name: "Thyme")
    Ingredient.create(name: "Olives")
    Ingredient.create(name: "Lettuce")
  end

  def down
    drop_table :ingredients
  end
end
Next, we’ll migrate the database:
$ rails db:migrateLastly, we will add a temporary piece of data to the homepage stating the number of ingredients so that we can ensure that this is deployed later.
app/views/welcome/show.html.erb
<h1>Welcome</h1>

<p>Existing recipes: <%= Recipe.count %></p>
<p>Unique ingredients: <%= Ingredient.count %></p>
Now we’ve made a significant enough change to deploy.
Database Migrations in a Containerized Application
How should we go about actually deploying this new database migration? We can’t deploy the code first and then manually migrate the database because it could lead to users attempting to access the application getting a missing migration error. There are a few ways to handle this:
- Don’t ship database migrations with code changes. Migrate the database additively before ever publishing the code that requires the change.
- Add migration as part of the container start process in production.
We’re going to go with the second option in our case, but it’s worth mentioning that this is the more “dangerous” option. We won’t have the means to “rollback” a database migration if it’s automatically done as part of the deployment. We need to make sure that the migrations that we write are always safe to run on deployment. As your application grows it is probably a better idea to transition to using the first strategy.
script/start
#!/bin/bash -e

if [[ -a /tmp/puma.pid ]]; then
  rm /tmp/puma.pid
fi

if [[ $RAILS_ENV == "production" ]]; then
  rake assets:precompile
  rake db:migrate
  mkdir -p /usr/share/nginx/html
  cp -R public/* /usr/share/nginx/html
  mkdir -p /etc/nginx/conf.d/
  cp site.conf /etc/nginx/conf.d/default.conf
fi

rails server -b 0.0.0.0 -P /tmp/puma.pid
Packaging Up a New Image
Now that we have all of the code that we need in place it’s time to update our image. The image that I’m currently using is us.gcr.io/aesthetic-genre-165010/mealplan:1.0.0, but you will have a different one (watch the previous tutorial get up to speed with our Kubernetes cluster set up). Let’s build the image now:
docker build -f Dockerfile.prod -t coderjourney/mealplan:1.1.0 .
docker tag coderjourney/mealplan:1.1.0 us.gcr.io/aesthetic-genre-165010/mealplan:1.1.0
With the image built and tagged properly, we can now publish this to the Google Container Registry.
$ gcloud docker -- push us.gcr.io/aesthetic-genre-165010/mealplan:1.1.0Deploying the Image Change to Kubernetes
We now have an image to work with and all we have left to do is to update our Deployment to use it. We’ll make a change to the file now.
deployments/mealplan.yml
# Only showing updated `image` line
image: us.gcr.io/aesthetic-genre-165010/mealplan:1.1.0
Using what we’ve done up to this point we would use kubectl create in order to build the proper object, but since the object already exists we would see this error if we tried that.
$ kubectl create -f deployments/mealplan.yml
Error from server (AlreadyExists): error when creating "deployments/mealplan.yml": deployments.extensions "mealplan" already exists
Thankfully, create is not the only tool that kubectl gives us. What we’re really doing here is “applying” a change to the deployment, so for that, we can use the apply command:
$ kubectl apply -f deployments/mealplan.yml
Warning: kubectl apply should be used on resource created by either kubectl create --save-config or kubectl apply
deployment "mealplan" configured
We receive a warning here because we should have actually created the objects originally using the apply command (and that’s what you should use moving forward). When first starting out the create command makes more sense than “applying” to nothing.
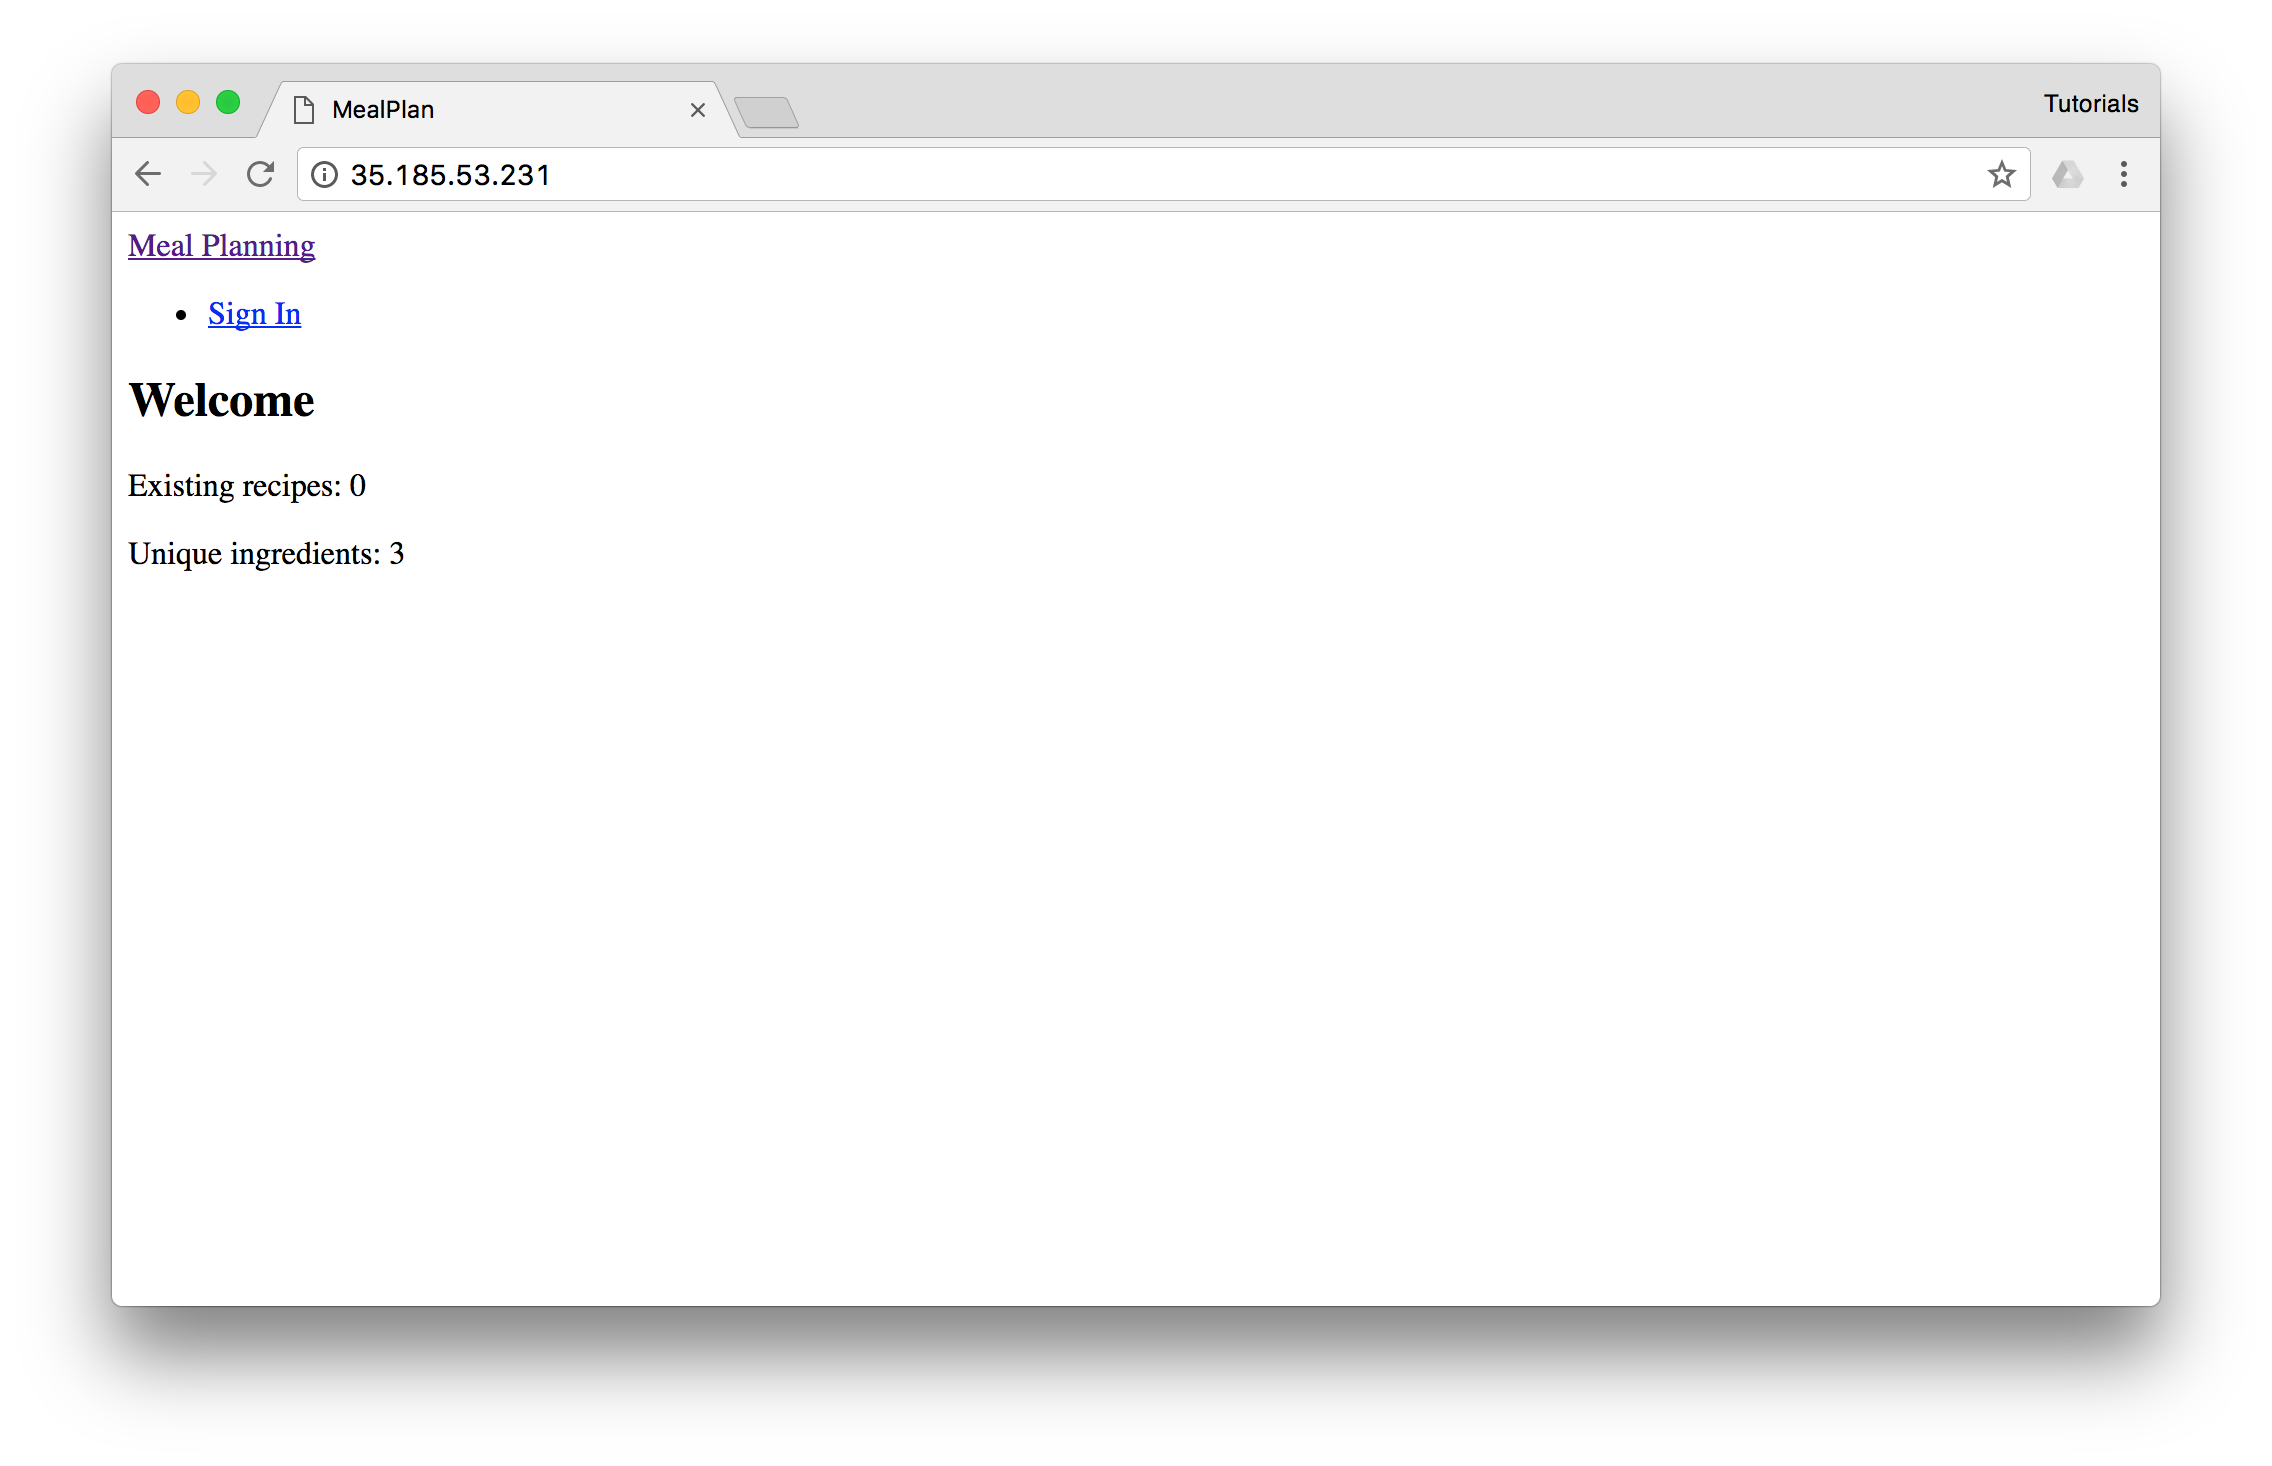
Looking at the public IP for our frontend service, we should see that our 3 ingredients are being mentioned on the homepage:
Recap
In this tutorial, you went through making a routine change with migration to a Rails application and looked at how to deploy those changes. The big takeaways from this tutorial should be the pros & cons of how we deploy migrations and the addition of apply to your Kubernetes tool belt.